Showing posts with label DIY. Show all posts

Wednesday, September 4, 2013

DIY: Washi Tape Candle

    Since we are moving, we had to say goodbye to two wonderful therapists: Boaz's speech therapist and his physical therapist. I bought them each a candle, but of course I can't give them a present that I have not altered in some way!  So I decided to put my washi tape to good use to make a simple, personalized candle. 


This is really simple.  Just tear strips of washi tape the length of the lid.  I eyeballed the stripes but you could measure them if you would like.  Then just stick the washi tape down and trim the edges with scissors. Make a cute tag and tie it on with a ribbon or string, and your done!  It was really simple to make and the washi tape added the perfect little touch. 

Sunday, June 23, 2013

DIY: Fabric Flowers

    Basically all of my friends (including my mom) have birthdays within a few days of each other so I decided to make them each something special.  I found an awesome tutorial on MADE, for fabric flowers.  These flowers were exactly what I was looking for so I got right to work.  I love how they turned out!  They were SO easy!  So, check out the pictures of the flowers I made and then head over to MADE and make your own!


Saturday, May 25, 2013

Restoring an Old Chest: a DIY


    My in-laws bought us this gorgeous chest at a yard sale a few weeks ago. They bought it knowing it needed a lot of work and I was excited at the challenge. Today, we started working on it, and it was super easy!  I had planned on painting the top, refinishing the sides, and glueing the few pieces back together  that needed it.  I was a little stumped on how I was going to paint the top and make it look good without painting the rest of it since I absolutely love the color of the wood and didn't want to paint over any part that did not need it.

    While Josh nailed and glued the pieces that needed it, I decided to try coconut oil on the wood.  In the past, I have used coconut oil to fix heat spots on my table and it worked perfectly so I decided to try it on this as well. I started rubbing coconut oil on the top, and we were both amazed at the results!

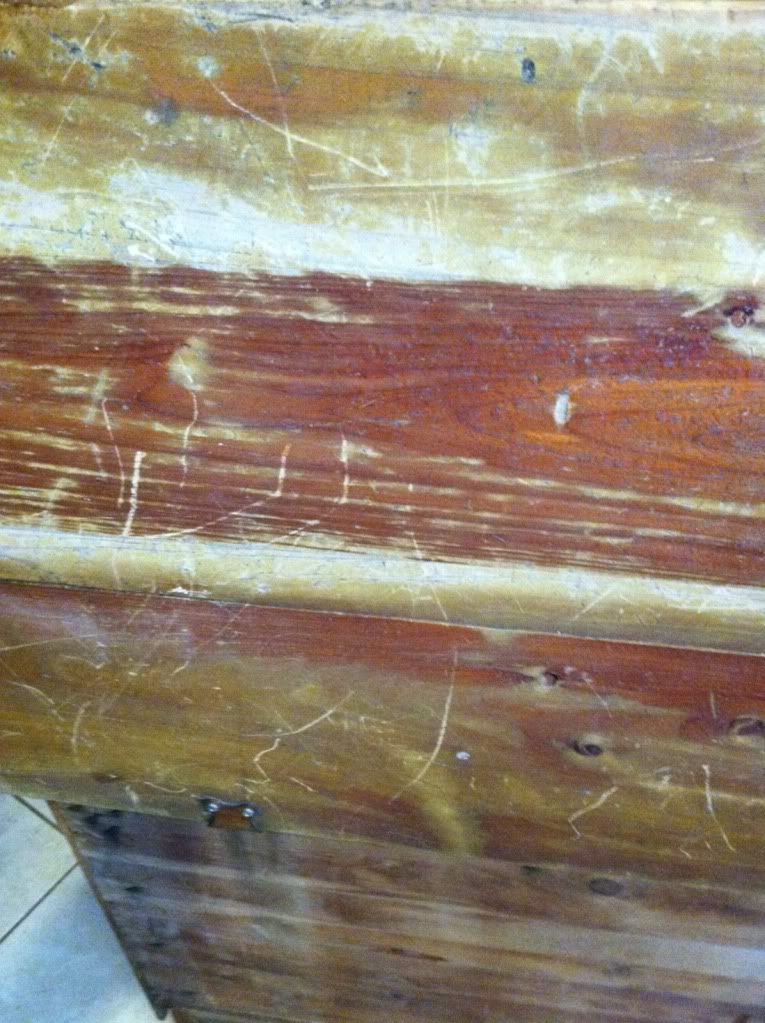
    This is what the top looked like before the coconut oil:


    And after:


      After seeing how well it did on the top, I started rubbing coconut oil over the whole thing to even it out and give it a fresh look. After letting it sit for maybe 10 minutes, I used a bucket of water and washcloth and cleaned off the coconut oil residue.  

    The inside had this little shelf in it that also needed some redoing.


So I grabbed some fabric and fabric glue, and glued the fabric to the bottom. It turned out great, as well!  


     We both really love this chest now! I am glad I didn't have to paint the top so now we can see every scratch that adds so much character!  

P.S. I usually buy virgin coconut oil because it is better for you, but since this project took a lot of coconut oil, I simply used regular coconut oil. It's cheaper and it still did a great job! 

Friday, April 26, 2013

Washi Tape Makeover


    I love washi tape.  So much.  For those of you that do not know, washi tape is a colorful and patterned masking tape from Japan.  It amazing because it doesn't leave a residue, it's very easy to remove and, of course, it's colorful and patterned!  Since it is easily removed and doesn't leave a residue it is PERFECT to make some electronics YOURS.  I don't know about you, but I love it when random things, that I have to use everyday, still represent who I am.  And by decorating things like your charger, you eliminate the confusion of who's charger is who's.  So as soon as I saw this idea on Apartment Therapy, I got right to work.


   The first thing I did was my charger.  It was fairly simple, it just took some time.  To decorate your charger, just take small pieces of tape and wrap it around the cord and charger.  Easy.


   The next thing I did was my stylus.  I liked my stylus as it was, but I think the washi tape made it even better! 


    And finally, my phone.  Which I did again this morning.  


   I liked the first one I did, but I think the one I did this morning is more 'me' (Plus, now you know how easy it is to change it out, all I had to do was peel it off).  To decorate your phone with washi tape, just stick it on like I did in the picture above and trim around the edges with scissors.  I made sure that each piece of tape was well over the edge so my lines would be clean when I trimmed it.  And that's it! It's all so easy.  Now to find more things that could use a washi tape makeover!